Quick answer: Choose aftermarket tail lights by exact vehicle, body style, production date and market specification. Then verify road-use documentation, connectors, lamp monitoring, required lighting functions, mounting seals and installed visibility. A matching outline or “plug-and-play” label does not answer all seven checks.
A striking rear-light signature is easy to buy from a photograph. A reliable replacement is a more demanding decision. The lamp must communicate braking and direction clearly, work with the car’s electronics and fit the body without leaving water paths or strained mounting tabs.
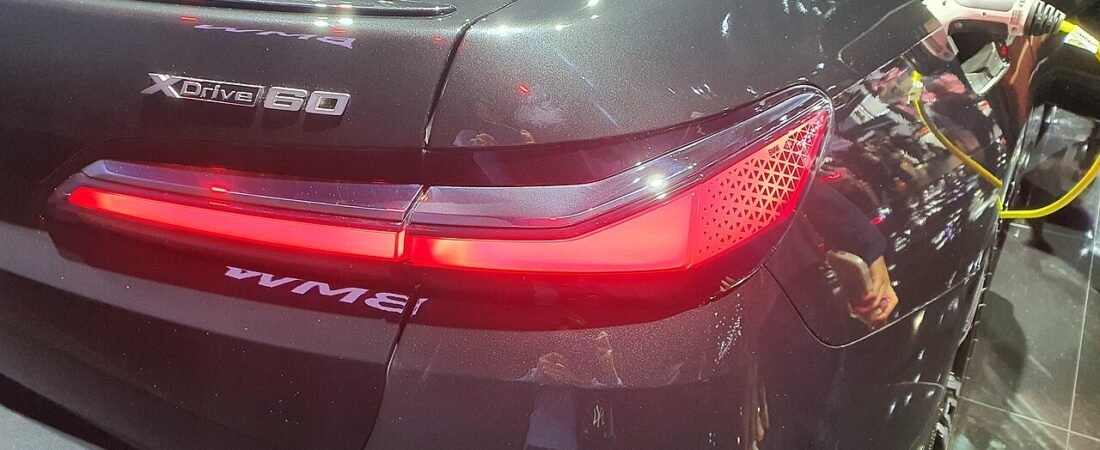
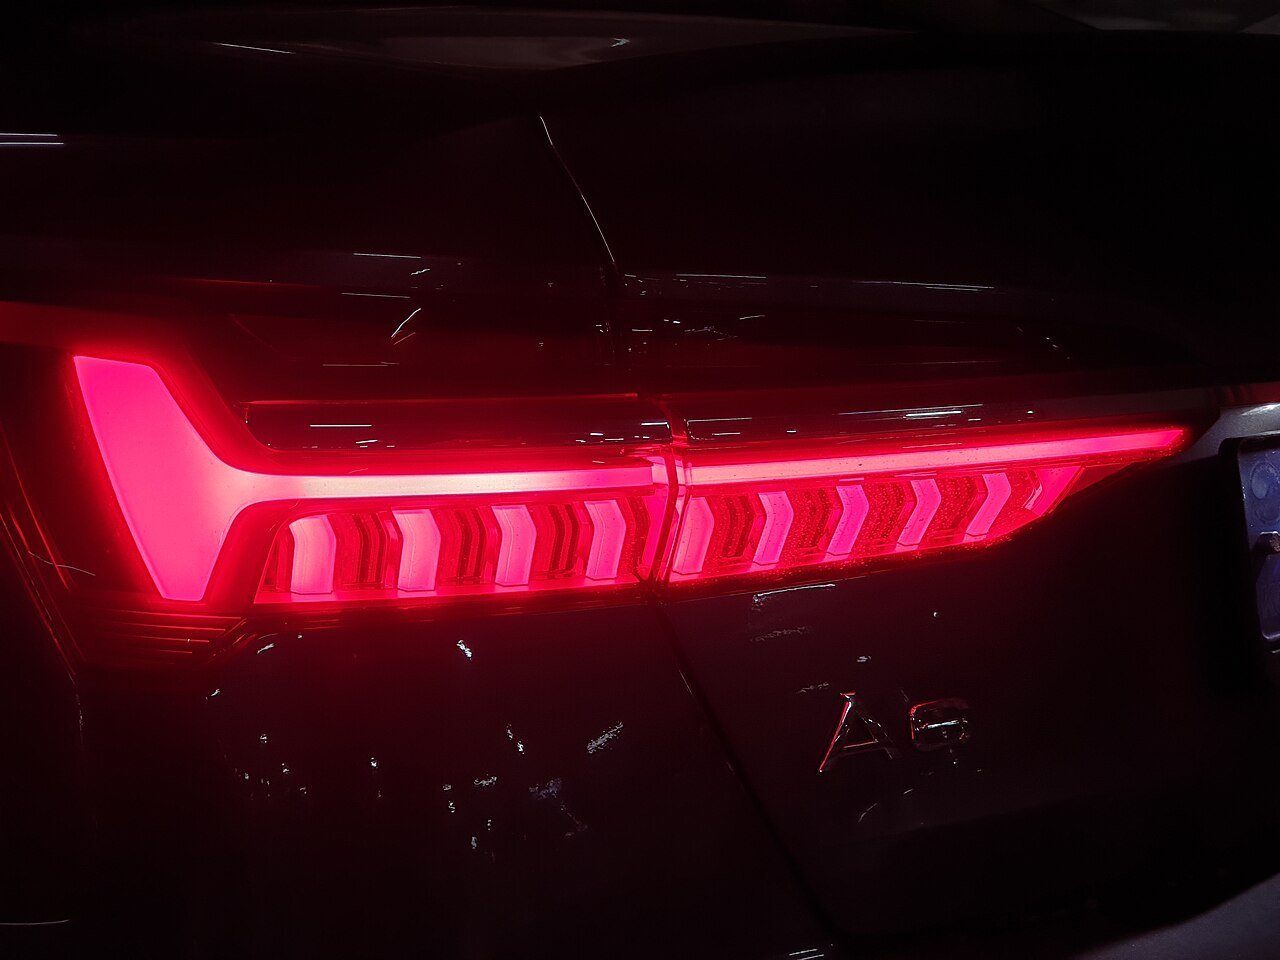
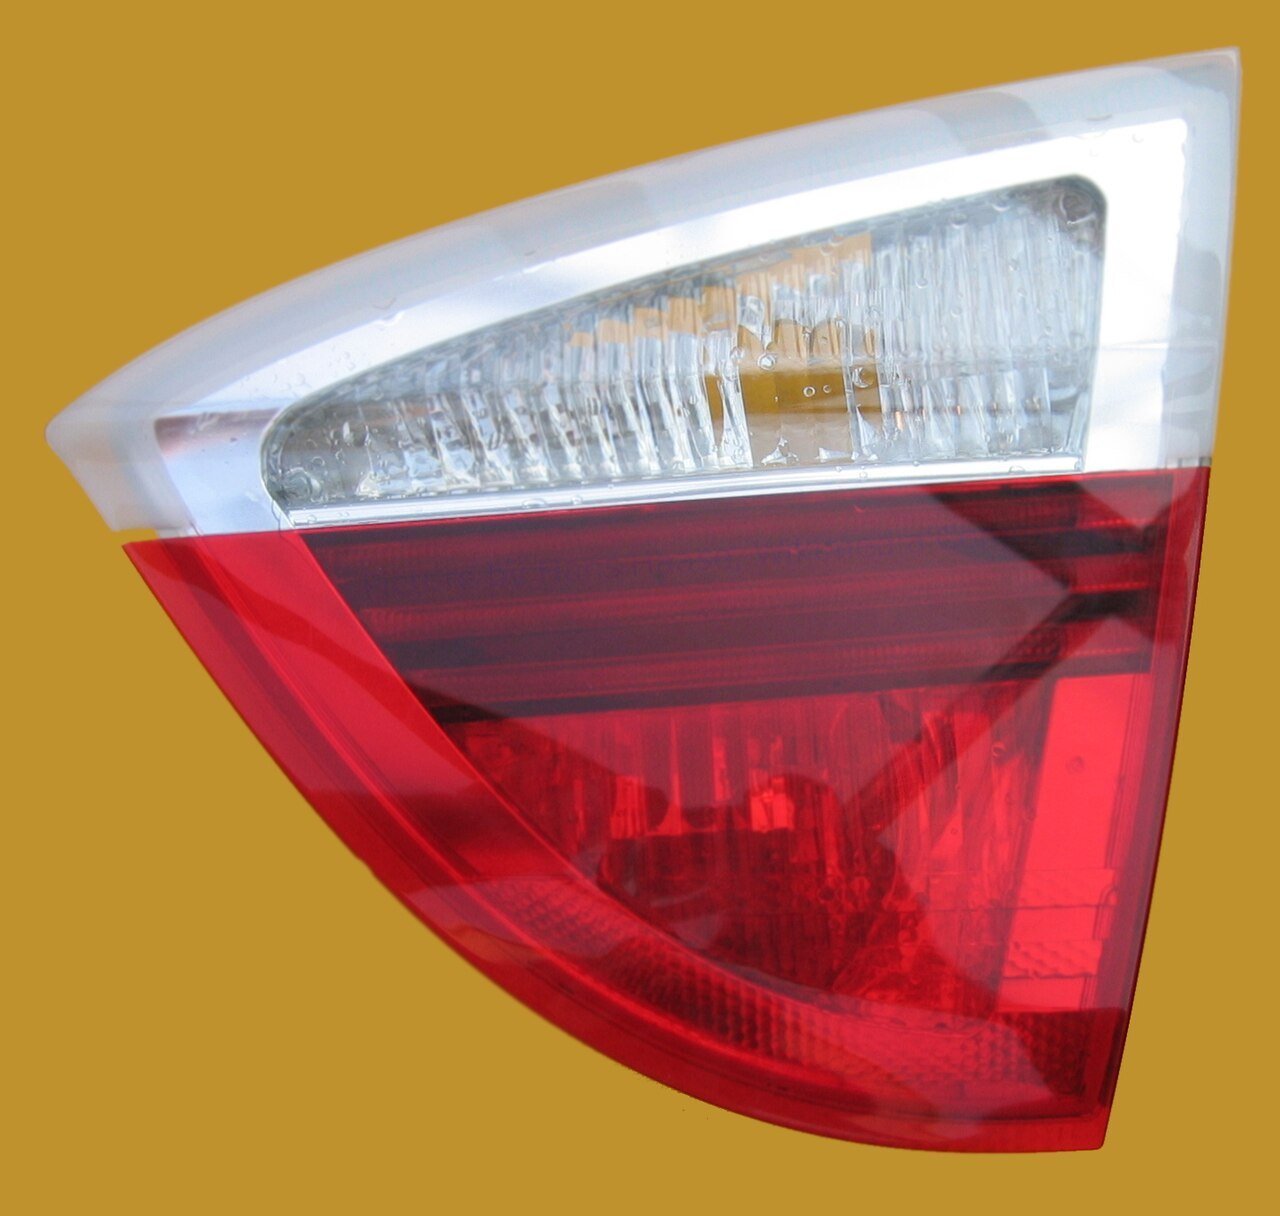
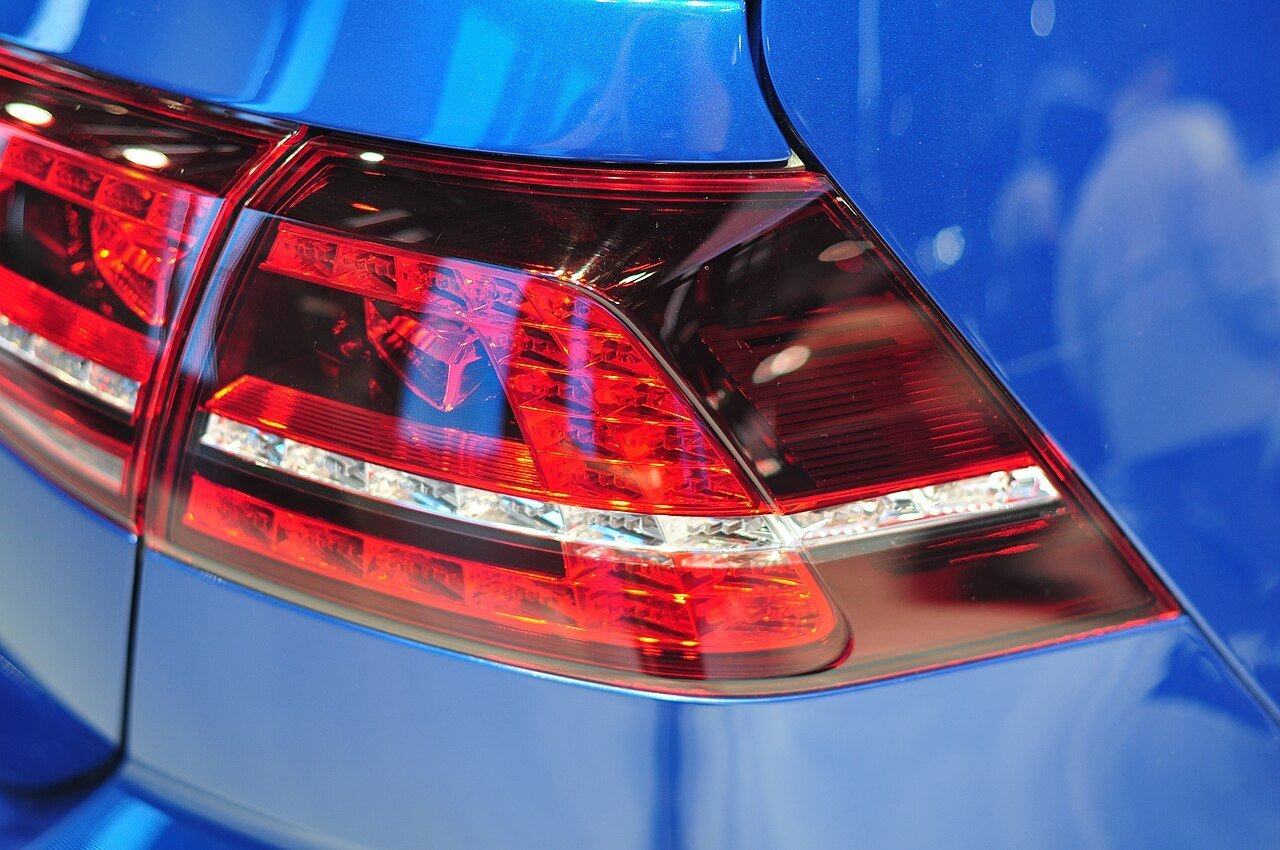
This guide helps owners and tuning businesses evaluate aftermarket tail lights before paying for a set. The photographs show independent real-world lamp examples. They are not RevexaAuto product photographs, proof of certification or evidence that a pictured lamp fits another vehicle.
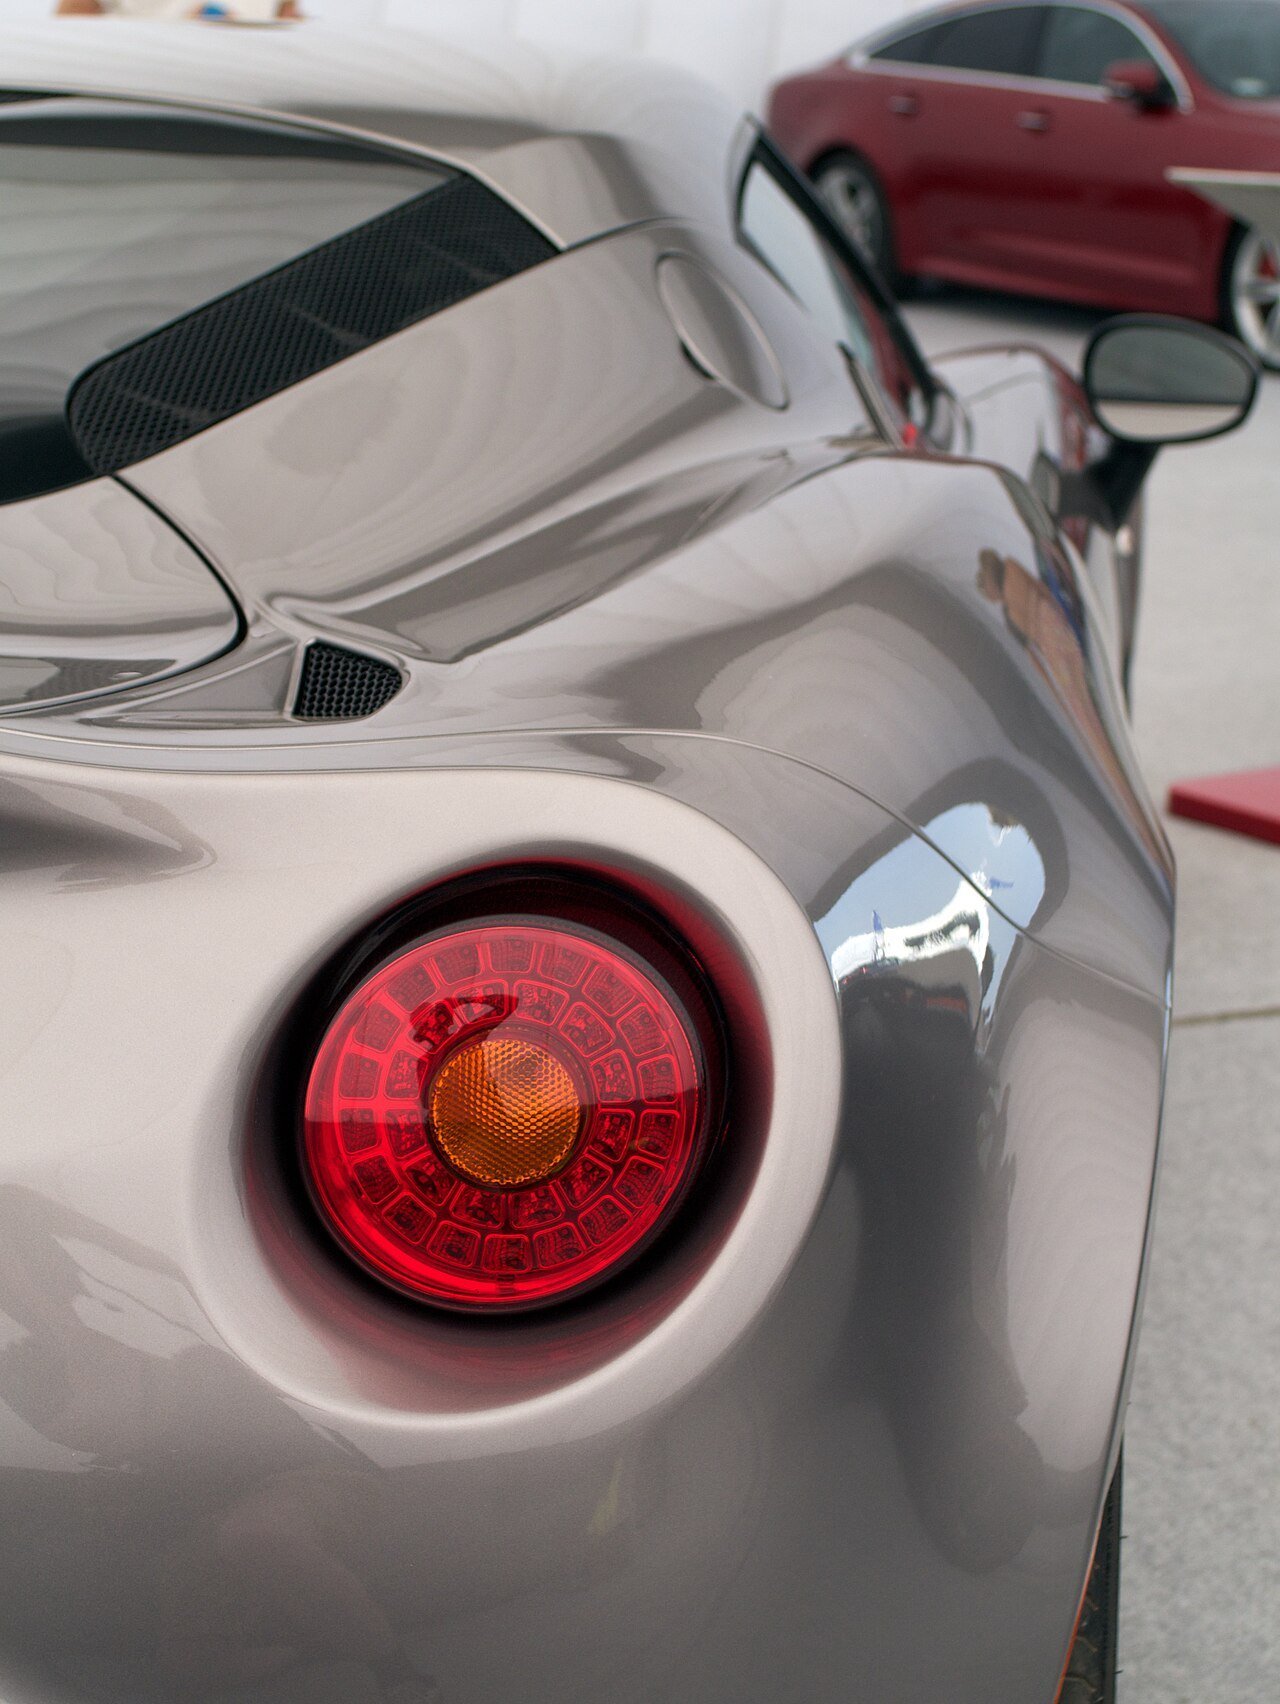
Cover photograph: Inspect the complete rear lamp arrangement and body shape before choosing a replacement. Photo: RpM Tartar, CC BY-SA 4.0, via Wikimedia Commons. Resized and recompressed; photo retains its stated license. Illustrative real photograph; not a RevexaAuto catalog image.
1. Match the exact body, generation and market
Start with a vehicle identification brief. Include make, model, model year, production month, chassis or generation, body style, original lighting equipment and the market in which the car will be used. A sedan, coupe and wagon may share a model name while using different lamp housings or harnesses.
Compare the full set of components. Some designs split the rear lamp between the body and trunk lid; others add a light bar or separate module. Confirm whether the listing supplies every required part, whether original modules transfer and whether any body panel or trim must change.
For example, use RevexaAuto’s LCI-style full LED taillights for Audi B9 A5/S5/RS5 as an application inquiry, then request confirmation for the precise body and original lamp configuration. Do not assume a broad model list establishes compatibility for every variant.
Create a short comparison sheet for the original and proposed assemblies: part numbers, number of modules, mounting locations, connector photographs, included harnesses and installation instructions. Resolve differences before dismantling the vehicle. An unanswered question is cheaper to settle while the original lamps still work.
2. Ask for evidence behind road-use claims
Ask which market the exact part was designed for and what evidence supports its claimed compliance. Identify the manufacturer, part number and relevant test or certification documentation. Separate a seller’s description from evidence that applies to the actual assembly and its installed functions.
In the United States, FMVSS No. 108 addresses original and replacement lamps. Its replacement-equipment provisions require applicable performance and replacement functions, and address vehicle compliance after installation. A styling photograph cannot establish those requirements.
NHTSA explains that it does not approve vehicle equipment; manufacturers certify compliance. Treat an unqualified “DOT approved” sales claim cautiously and request the underlying information. Do not infer that any linked RevexaAuto product has a certification that has not been supplied.
Other markets have their own approval and use rules. For a UK vehicle, consult the official MOT lamp and reflector inspection manual for the relevant inspection requirements. Passing a simple visual check is not a substitute for establishing all applicable approval requirements.
3. Verify the connector and electronics plan
A connector that physically plugs in does not prove that every circuit behaves correctly. Ask for the connector pinout, adapter details, original-module requirements and any coding procedure for your specific vehicle. Confirm who supplies installation support if an error appears.
HELLA’s LED retrofit guidance describes how lower electrical loads can interact with bulb-failure detection and how supply modulation can cause lighting problems. That page discusses retrofit bulbs; it explains why electrical compatibility needs investigation, not that one generic adapter fixes every complete rear-light assembly.
For aftermarket LED tail lights, request a vehicle-specific solution. Do not fit arbitrary resistors or disable fault detection merely to hide a warning. Have a qualified installer follow the lamp and vehicle instructions, including any heat-management requirements for supplied electronics.
RevexaAuto’s full LED rear tail lights for Toyota GR86/Subaru BRZ provide another product starting point. Confirm the production date, original connector, included components and road-use documentation for the exact set offered.
4. Check every function, not only the startup animation
Build a function checklist before the purchase. Tail/position lighting, stop lighting, turn signals, hazards, reverse lighting and any required rear fog or side-marker functions must be considered for the intended vehicle and market. Also locate the rear reflectors; a powered light and a passive reflector do different jobs.
| Function | Question before ordering | Installed check |
|---|---|---|
| Tail and stop | Are both functions retained? | Confirm a clear change when braking, including with tail lamps on |
| Turn signals and hazards | Does the set support the vehicle and market? | Check left, right and hazards, including simultaneous braking |
| Reverse and rear fog | Which functions and sides are included? | Check only under a safely controlled workshop procedure |
| Reflectors and markers | Are required devices retained? | Check their presence, visibility and condition |
A video showing a welcome sequence answers a styling question. Ask for demonstrations of normal operation as well. Observe both sides together and the center high-mounted stop lamp. A partial set that illuminates attractively on a bench may still leave a vehicle function unresolved.
Compare the clear LED dynamic taillight set listed for BMW G20/G28/G80 by its exact supplied specification. “Clear,” “dynamic” and “LED” describe aspects of a design; they do not independently demonstrate electrical compatibility or legal suitability.
5. Inspect the housing, seals and moisture path
Inspect the delivered lamps before installation. Look for cracked tabs, damaged lenses, distorted gasket surfaces, missing fasteners and harness damage. Photograph any shipping damage while packaging and labels remain available. Compare the supplied parts against the agreed component list.
HELLA’s moisture troubleshooting guide discusses headlamps and other vehicle lamps, including rear combination lamps. Temporary fogging can occur through normal ventilation, while persistent droplets or accumulated water call for inspection of seals, vents and electrical connections.
Follow the assembly-specific instructions rather than sealing every opening with silicone. A vent is not automatically a leak. Ask the supplier how a moisture complaint should be documented and what conditions trigger a warranty inspection.
After fitting, inspect adjacent luggage-compartment trim and seals as well as the lamp itself. A lamp can appear dry while a disturbed body gasket permits water elsewhere. A controlled check should follow the manufacturer’s procedure; do not improvise a high-pressure spray test against seals.
6. Evaluate visibility in daylight and from useful angles
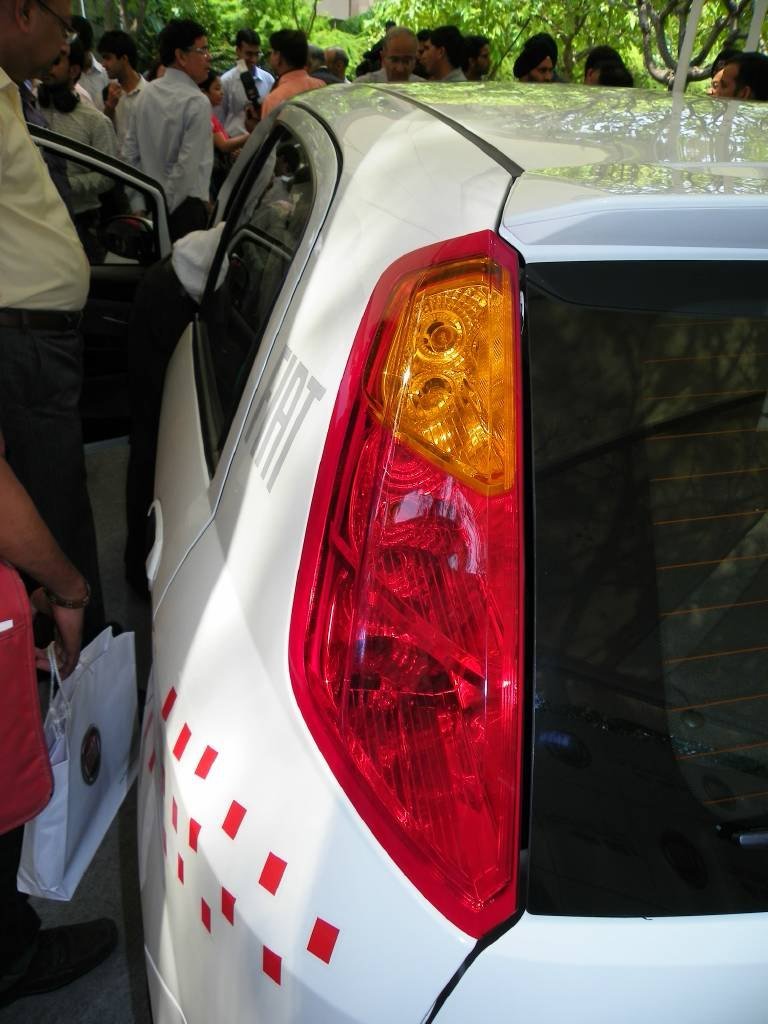
Judge an installed lamp in normal surroundings, not only in a dark promotional video. Ask how the signals appear in bright daylight, from off-center positions and with the tail lamps already illuminated. Photograph exposure and camera processing can make weak and strong signals look deceptively similar.
Smoked lenses, tint films and decorative covers deserve separate scrutiny. Do not assume a tinted version has the same verified output as a clear version. Ask whether the documentation covers that exact lens, light source and housing combination. Avoid adding an overlay that changes the configuration being represented.
Use visual checks to catch installation problems, not to claim laboratory compliance. A phone clip cannot measure the complete photometric performance of a lamp. For an uncertain product, obtain relevant documentation or select an application with a clear evidence trail.
7. Plan the installation, acceptance and support
Compare total installed cost: assemblies, adapters, transferred modules, coding, labor, replacement seals and any diagnostic work. Ask what happens if a supplied component fails and whether an individual module can be replaced. Keep the original lamps until the new set passes the agreed checks.
The UK government’s overview of MOT checks includes lighting among the vehicle items assessed. It is a reminder to schedule installation with enough time to address faults before any required inspection, rather than treating delivery as the end of the project.
- Confirm the written vehicle application and complete parts list.
- Inspect the delivered housings, tabs, gaskets and wiring.
- Have the installer follow the vehicle and lamp instructions.
- Test every function individually and in relevant combinations.
- Check warnings, mounting security, body gaps and sealing.
- Keep part numbers, documentation and the installation record.
- Resolve faults before returning the vehicle to normal road use.
Frequently asked questions
Are aftermarket tail lights legal?
Suitability depends on the exact lamp, its installed functions and the rules in the intended market. Request applicable compliance evidence and confirm the vehicle application before purchase.
Does plug-and-play mean no coding?
Not necessarily. Ask whether your original lamp type, control modules and market configuration require adapters, transferred electronics or coding.
Why do LED tail lights cause a dashboard warning?
The vehicle’s monitoring system may interpret a different electrical load as a fault. Wiring or an actual component fault can also cause warnings. Diagnose the specific system instead of assuming every warning needs a resistor.
Is condensation always a defective lamp?
No. Temporary mist can occur in ventilated lamps. Persistent droplets, standing water or corrosion require inspection according to the lamp manufacturer’s guidance.
By RevexaAuto Editorial. Sources checked October 7, 2026. This guide summarizes linked technical and official references; it does not report independent photometric testing or certify the linked products. Confirm specifications and approval evidence for the exact order and market.

.jpg)


