Quick answer: A carbon fiber grille should match the exact bumper and model-year geometry, mount without stressed tabs, preserve the designed cooling opening, and leave factory radar, cameras, badges and active shutters in their specified positions. Before buying, identify whether the part is a complete replacement, frame, overlay or insert, then verify the vehicle’s driver-assistance and cooling equipment.
This guide is written for owners, installers and distributors who need a repeatable way to screen a front-grille order. It separates visual style from engineering facts and avoids unsupported claims that any open mesh automatically adds cooling, reduces drag or improves performance.
Last reviewed: October 5, 2026. Prepared by the RevexaAuto Technical Team. Vehicle-maker service information and calibration requirements take priority over generic installation advice.
What exactly are you buying?
Grille listings can describe different parts with different installation risks. A full replacement removes the original grille assembly. A frame replaces or covers only the perimeter. An overlay bonds to the factory surface. A trim piece changes one accent. A mesh insert fills an opening and may change its effective open area.
| Product | Factory part retained? | Main risk | Evidence to request |
|---|---|---|---|
| Complete replacement grille | Usually no | Tabs, badge, sensor, shutter and bumper fit | Backside photos and exact application list |
| Grille frame | Center or mesh may remain | Clip geometry and transitions to bumper | Exploded view and included hardware |
| Overlay or cover | Yes | Bonding, edges and interference with moving shutters | Full perimeter fit and adhesive method |
| Mesh insert | Frame may remain | Open area, sharp edges and attachment security | Mesh dimensions, material and retention method |
| Decorative trim | Yes | Mislabeling as a full grille | Installed and uninstalled part photos |
A product title should make the distinction clear. For example, RevexaAuto lists a CSL-style BMW G8X replacement grille, a Mercedes W465 full carbon grille frame and a dry-carbon Audi RS6/RS7 grille-frame cover. They serve different applications and do not transfer the same hardware.
Which eight carbon fiber grille traps cause returns?
1. Ordering for the nameplate, not the bumper version
A model family can contain pre-facelift and facelift bumpers, standard and performance trims, camera and non-camera versions, and market-specific equipment. Confirm the VIN or chassis, production date, body style, original bumper, option package and factory grille photos. Ask the supplier to confirm the supported years and trims in writing.
Even within one chassis family, design variants can be separate parts. Compare the RZ-style BMW G8X replacement, VR-style V2 replacement set and G8X V2 front grilles. A shared model list does not mean the center section, ducts or accessories are identical.
2. Comparing only the front face
Most grille failures begin on the unseen side: tabs do not reach their slots, clip thickness is wrong, a screw boss sits under stress or a duct cannot reconnect. Request high-resolution backside photos. Count every tab, boss, clip, bracket, foam strip and duct interface against the original before removing the bumper.
Do not pull a misaligned tab into place with a screw. Carbon-composite features can be stiff and notch-sensitive; forced alignment stores stress at the base of a tab. If the bumper must be distorted to meet the part, stop and identify the application or dimensional problem.
3. Treating the radiator opening as decoration
The front opening participates in a system that includes the grille, ducts, radiator, condenser, cooling fan and underhood exits. More visible mesh does not prove more useful cooling flow. Less restriction may change distribution, while an attractive insert can also mask part of a heat exchanger or allow debris through.
SAE research on active grille shutters and vehicle thermal management shows that grille opening affects powertrain cooling, air-conditioning performance, fan power and component temperatures. A newer SAE control-strategy study likewise balances cooling air with aerodynamic and energy objectives. These vehicle-level results support preserving the designed flow path; they do not prove that a specific aftermarket grille improves cooling or drag.
4. Blocking or binding active grille shutters
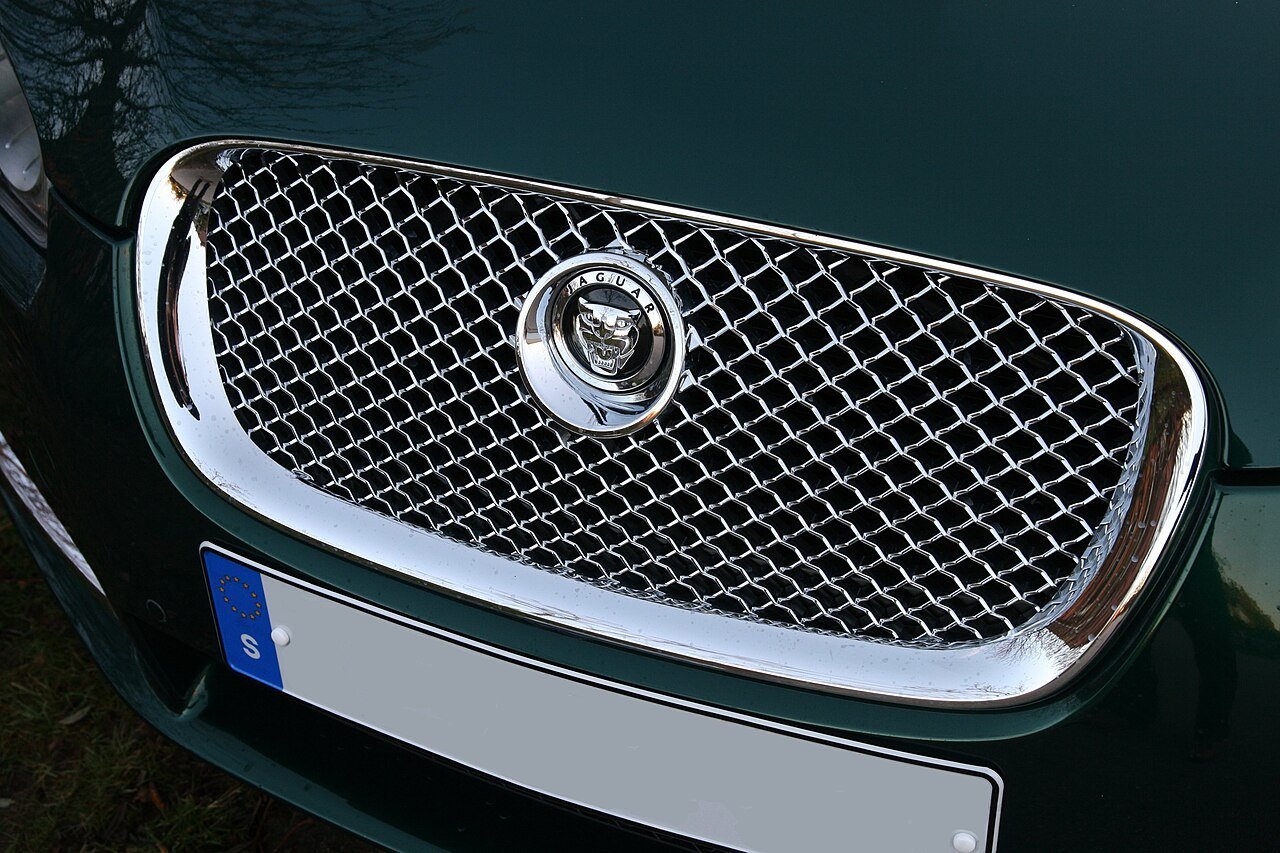
Some vehicles have motorized shutters behind the visible grille. The blades need their full movement, and the actuator, linkage and harness need clearance. An overlay, mesh fastener or adhesive pad can interfere only at one position, so checking with the shutters parked is not enough.
Open-access modeling of air-conditioning systems with active grille shutters treats shutter position as part of front-end airflow and energy management. Research on coupled vehicle aerodynamics and thermal management also shows why opening strategy and heat-rejection performance must be considered together. Preserve the factory mechanism and run any specified scan-tool function test after reassembly.
5. Forgetting radar, cameras and sensor windows
A badge can conceal radar; a camera may mount in the grille; parking sensors can sit in adjacent trim. Their position, angle and permitted materials matter. Identify the exact equipment before ordering and never assume a carbon panel is transparent to a sensor because it looks thin.
A manufacturer bulletin hosted by NHTSA states that front radar hardware and brackets must be correctly installed and aligned before calibration. Another service document warns that incomplete calibration and material in the radar field of view can cause driver-assistance faults. Requirements vary by vehicle. Use the OEM repair procedure to decide whether aiming, calibration, a scan or a functional check is needed after grille or bumper removal.
6. Transferring the badge without checking its function
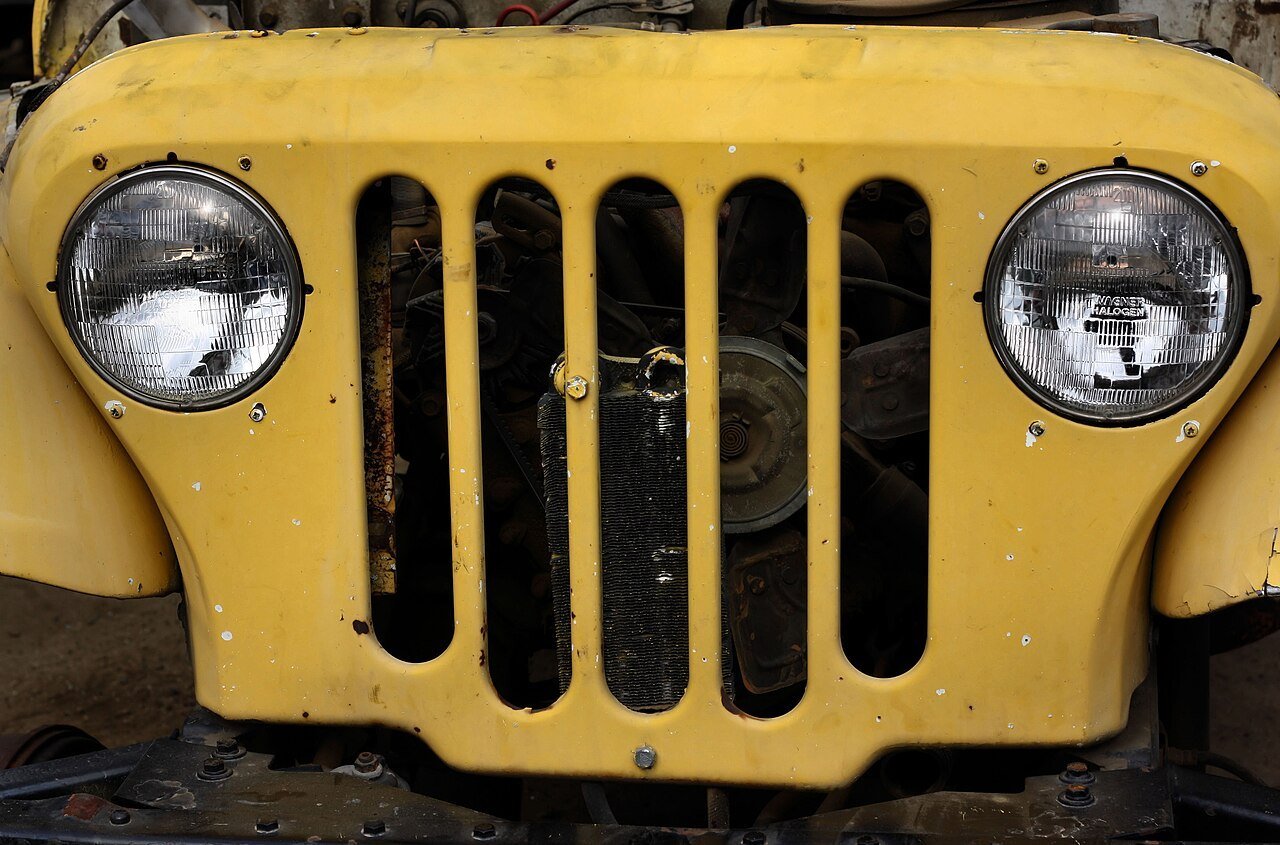
A badge may be cosmetic, illuminated, heated or part of a radar cover. Confirm its mounting bracket, orientation, connector and surface condition. Do not paint, wrap or coat a functional sensor cover unless the vehicle maker permits it. If the replacement includes a different badge bracket, compare its installed depth and angle with the original before locking the grille into the bumper.
7. Buying a finish with no exterior-care plan
Ask whether the part is supplied raw, gel-coated, clear-coated or ready for paint. Inspect pinholes, weave distortion, print-through, cloudy areas and exposed edges under neutral light. Carbon fibers are protected by a resin and finish system; the visible weave is not itself a weatherproof coating.
Accelerated-aging research on carbon-fiber/epoxy under UV exposure found damage concentrated in the polymer matrix and surface. Treat that as evidence for confirming an exterior-grade finish and its care instructions, not as a universal lifespan prediction for a finished automotive part.
8. Ignoring packaging and first-fit return terms
Grille frames are large, thin and vulnerable around corners and mounting tabs. Require rigid support, edge protection and separation from loose hardware. Photograph the carton before opening, then inspect every tab and clear-coated edge. Keep the packaging until the part passes an unmodified dry fit.
Distributors should publish an inspection window and photo checklist. Separate transit damage from application mismatch and installation modification. A part that has been drilled, sanded, heated, forced into the bumper or permanently bonded is harder to assess fairly.
Does a more open carbon fiber grille improve cooling?
Not necessarily. Cooling depends on air mass flow through the heat exchangers, its distribution, fan operation, duct sealing, vehicle speed, ambient conditions and heat load. The visible opening is only one element. SAE work on underhood airflow and cooling drag emphasizes both radiator flow distribution and the aerodynamic cost of front-end airflow.
Likewise, research on active-shutter flap shape found that geometry can influence fully open airflow. The practical lesson is modest: do not infer performance from a photograph. If thermal performance is important, record coolant, oil or intake temperatures under repeatable conditions and compare the actual installed configurations.
For a street vehicle, preserve factory ducts and seals. A gap around the grille can allow air to bypass the radiator even when the visible opening looks larger. After installation, check that foam barriers, radiator covers and undertrays return to their intended positions.

Eight checks before you order
- Vehicle identity: record VIN/chassis, production month, body style, trim and market.
- Original bumper: confirm standard, sport, facelift or conversion-bumper status.
- Product type: full replacement, frame, overlay, insert or trim.
- Mounting map: compare backside tabs, clips, bosses, screws and ducts.
- Equipment: list radar, front camera, parking sensors, illuminated badge and active shutters.
- Air path: compare opening shape, mesh area, duct seals and shutter travel.
- Finish: clarify laminate, backing, clear coat, UV care and repair policy.
- Delivery: agree on packaging, inspection evidence and unmodified test-fit terms.
When the application is a Mercedes, the catalog distinction is equally important. The W205 C63-style carbon grille, W464 G-Wagon BRB-style upgrade and W167/C167 Mercedes GLE carbon grille fit different bodies. A shopper should not choose from the photograph alone.
What is a careful installation workflow?
- Scan the vehicle for existing faults and photograph the original gaps, camera view and warning messages.
- Review the OEM bumper-removal and calibration information before disconnecting anything.
- Protect paint, lamps and carbon edges; organize clips and screws by location.
- Remove the bumper or grille without pulling on camera, radar, badge or shutter harnesses.
- Compare the new part and original side by side, including all backside features.
- Dry-fit without adhesive or irreversible modification. Start every fastener loosely.
- Check active-shutter travel, duct sealing, sensor clearance and harness routing.
- Transfer the badge and brackets exactly as the approved procedure specifies.
- Reassemble progressively, confirm even gaps and avoid forcing tabs into tension.
- Run the required scan, aiming, calibration or functional checks and document the result.
Do not publish a universal labor time. A clip-on frame for a vehicle without sensors is different from a bumper-off replacement that carries radar, a camera and active shutters. Workshops should quote after checking the exact equipment and available service procedures.
Frequently asked questions
Can carbon fiber interfere with radar?
Sensor performance depends on the material, thickness, coatings, shape and exact position in the field of view. Do not make a generic transparency claim. Retain the approved radar cover or sensor window and follow the OEM procedure for the specific vehicle.
Does grille removal always require calibration?
No single answer covers every model. Calibration may depend on whether the sensor or its bracket moved, whether the bumper was removed, fault codes, repair operations and manufacturer rules. Check current OEM repair information before work, then document the prescribed verification.
Is prepreg automatically better?
Prepreg can support controlled resin content, but finished quality still depends on tooling, layup, cure, trimming, inserts and inspection. Judge the complete part: dimensions, tab quality, surface, backing, reinforcement and application evidence.
Can I add mesh behind the grille?
Only after checking airflow, shutter movement, radar and camera fields, fastener security and debris clearance. An extra layer can reduce effective opening or touch a moving blade. Use a documented retention method; do not leave sharp wire edges near the condenser or wiring.
How should a distributor reduce fitment disputes?
Collect VIN/chassis, production date, bumper photos and equipment details before quotation. Put confirmed fitment, excluded trims, included parts, sensor provisions and finish condition on the product page and invoice. Require unmodified test-fit photos before approving a dimensional claim.
Sources and evidence
- SAE: Evaluation of Active Grille Shutter Impact on Thermal Management
- SAE: Thermal Management and Energy Consumption Balanced Design
- Modelling: Automotive Air Conditioning with Active Grille Shutters
- Energies: Vehicle Aerodynamics and Thermal Management
- NHTSA-hosted OEM Front Radar Calibration Tips
- NHTSA-hosted OEM Radar Field-of-View and Calibration Guidance
- SAE: Underhood Airflow and Cooling Drag
- SAE: Active Grille Shutter Aerodynamics and Flap Shape
- Materials: Carbon-Fiber/Epoxy UV Aging
Bottom line: choose the grille that fits the real bumper and preserves the real vehicle systems. The best purchase is not the part with the largest opening or the boldest weave; it is the verified application with sound mounts, correct sensor provisions, an intact air path and a documented installation.

,_front_view_on_logo,_grille_and_cooler_behind_it.jpg)


