Reviewed September 30, 2026. This buyer’s guide is educational, not legal or installation advice. Lighting rules and inspection procedures vary by market.
Quick answer: what should you check before buying aftermarket headlights?
Before buying aftermarket headlights, confirm the exact vehicle, original lamp type, connector and module requirements, left- or right-hand-traffic beam pattern, applicable compliance markings, aiming procedure, sealing, coding needs, warranty and total installed cost. A housing that bolts on is not necessarily optically, electrically or legally compatible.
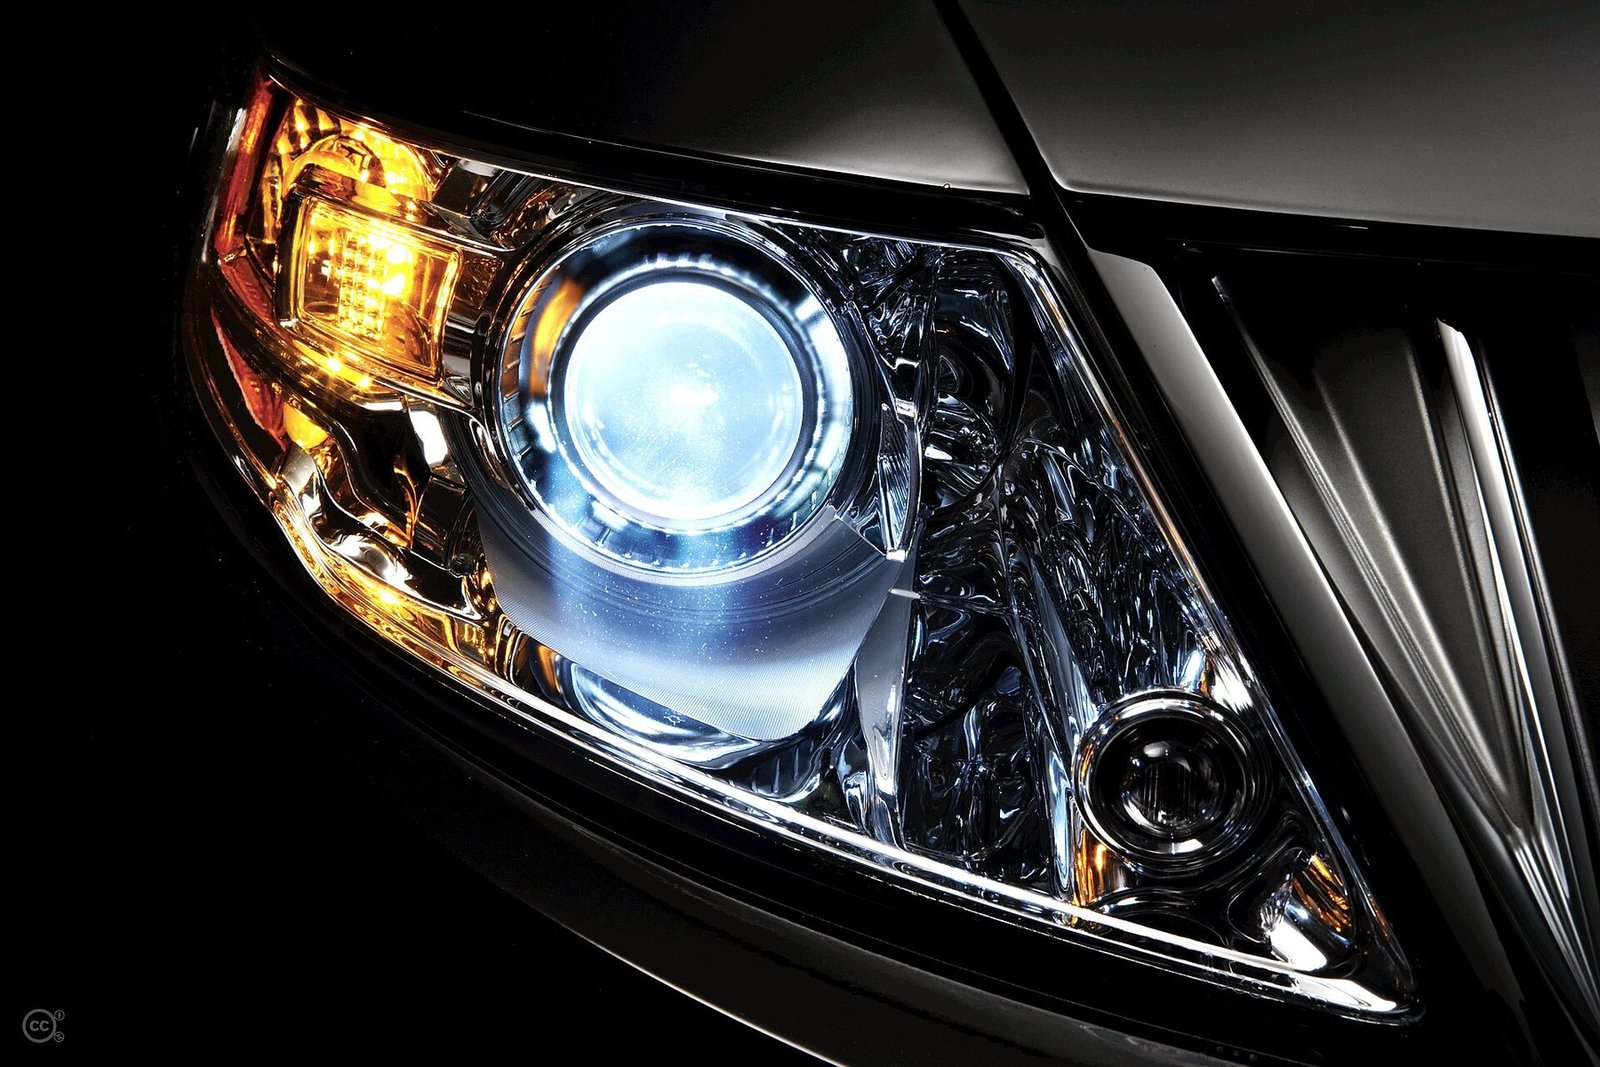
Aftermarket headlights can restore a damaged lamp, modernize a build or add a different daytime-running-light signature. They can also create glare, warning messages, moisture problems or an expensive return when a listing hides the details that actually determine fitment. The safest purchase starts with evidence, not a front-view product photo.
Headlight performance matters beyond appearance. The Insurance Institute for Highway Safety (IIHS) reports that vehicles with a good visibility rating in its test have 19% fewer nighttime single-vehicle crashes and 23% fewer nighttime pedestrian crashes than vehicles with poor-rated headlights. That does not prove that any aftermarket assembly will improve safety; it shows why controlled beam performance and correct aim deserve more attention than advertised lumens.
Aftermarket headlight decision table
| System | Possible advantage | Critical checks | Usually makes sense when |
|---|---|---|---|
| Complete LED assembly | Modern styling, fast response and integrated DRL functions | Vehicle coding, LED driver, heat management, cutoff, replacement modules | The application is documented for the exact year, trim and factory lighting package |
| HID/xenon projector assembly | Strong projector output in a properly designed system | Ballast and igniter, leveling, bulb type, washer or local inspection requirements | The vehicle was originally equipped with a compatible xenon system |
| Halogen replacement assembly | Simple bulb service and lower system complexity | Reflector quality, bulb rating, connector, heat tolerance and aim | You need an OEM-style repair on an older platform |
| DRL/color module | Changes the daytime-light signature without replacing the full housing | Road-use legality, thermal load, sealing, error messages and reversible installation | The module is explicitly compatible and the color is lawful for the intended use |
RevexaAuto’s vehicle lighting collection includes full assemblies and model-specific modules. Treat the product page as a starting point: verify the vehicle’s VIN, production date and existing equipment before ordering.
1. Match the exact year, trim, body and factory lamp
“Fits C-Class” or “fits G-Wagon” is not enough. A facelift, production-month change, regional specification or optional lighting package can alter mounting tabs, plugs, pin assignments, control units and leveling hardware. Start by recording the VIN, body style, production date and the part numbers on both original housings. Photograph the rear connector and any ballast or control module.
Then ask what transfers from the original lamp. Some assemblies arrive with every driver and module; others require the buyer to reuse ballasts, leveling motors or control units. For example, compare the specification of the W205 C-Class full LED headlight with your original halogen, xenon or LED configuration before treating the visual match as a fitment match.
2. Check the optical system, not only the light source
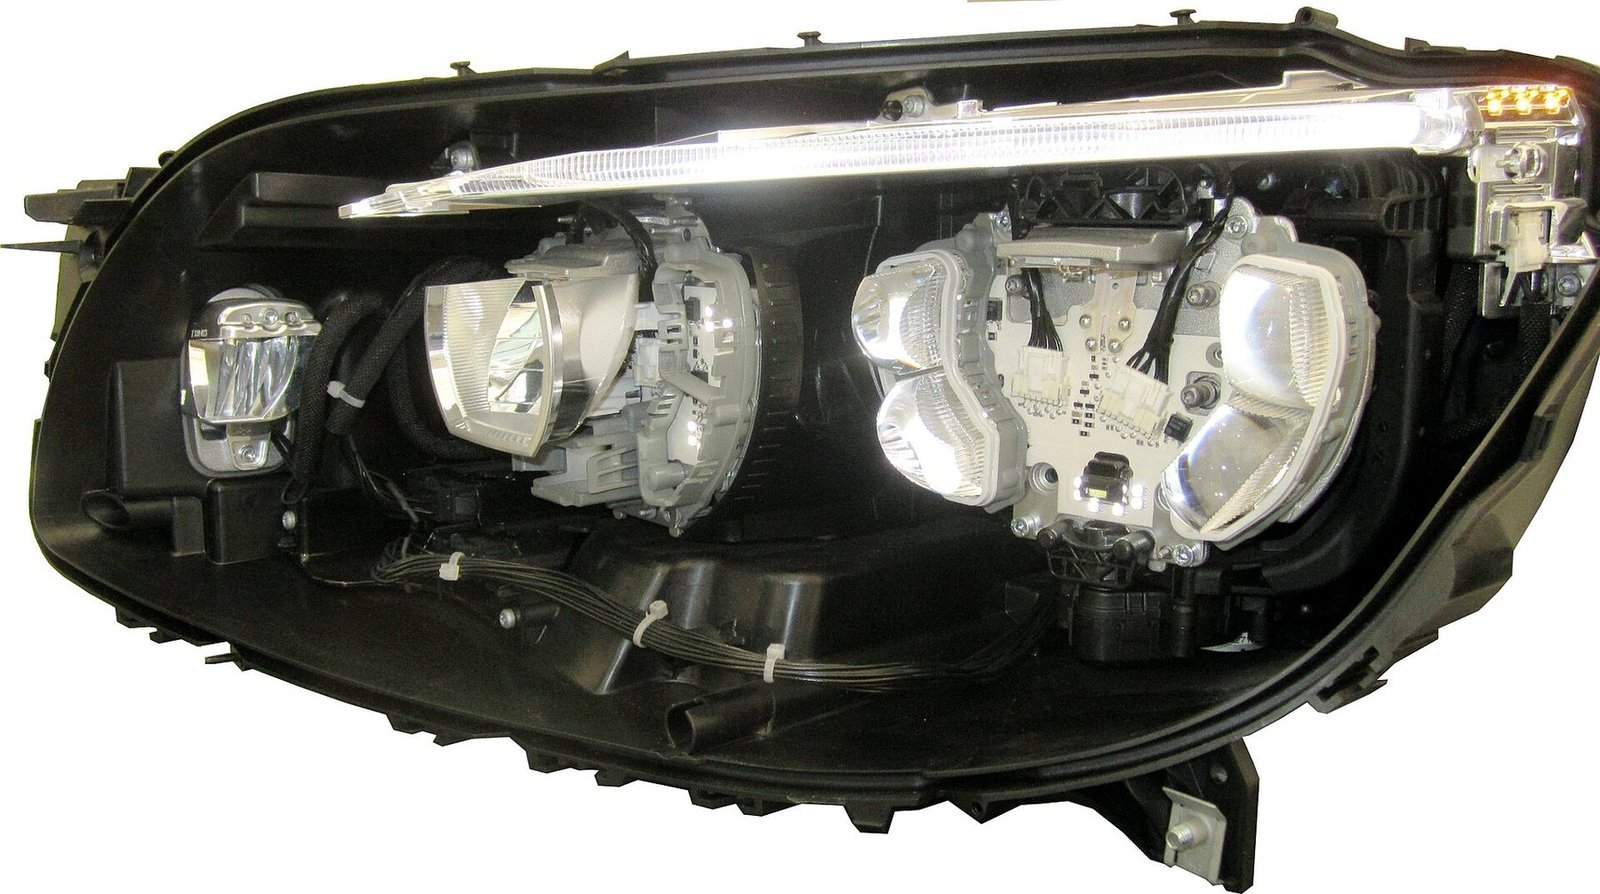
LED, HID and halogen describe the source, not the quality of the beam. Useful road lighting depends on the reflector or projector, lens, cutoff, beam distribution, heat control and aim working as a system. A high-output source in the wrong optics can put extra light close to the car or into oncoming drivers’ eyes without improving distance visibility.
Ask for an application-specific photometric report when available, plus wall-pattern photos of low and high beam from a known distance. The IIHS headlight evaluation method measures visibility on straight roads and curves and applies a glare penalty. It is a useful model for thinking about performance: reach, distribution and glare should be considered together.
3. Verify LHD/RHD traffic compatibility
Do not confuse a left-hand-drive vehicle with left-hand traffic. The question is which side of the road the vehicle uses. Low-beam patterns are shaped to illuminate useful roadside areas while limiting glare toward oncoming traffic. An assembly intended for right-hand traffic may not be appropriate in a left-hand-traffic country, and vice versa.
Ask the seller to identify the beam version in writing: left-hand traffic, right-hand traffic or a documented switchable design. International buyers should not infer the pattern from a model badge, seller location or photograph. A wrong pattern can lead to poor visibility or a failed inspection even when the housing mounts perfectly.
4. Read compliance markings accurately
In the United States, Federal Motor Vehicle Safety Standard No. 108 covers original and replacement lamps. The current 49 CFR 571.108 text says a model-specific replacement lamp must be designed so its installation does not take the vehicle out of compliance. The exact duties depend on the lamp and application.
A DOT mark is not the same thing as a government product approval. A NHTSA interpretation letter explains that the DOT symbol reflects the manufacturer’s own certification of compliance. Ask who manufactured the assembly, which vehicle and light-source configuration it covers, and what testing supports the claim.
Other regions use different rules and approval systems. UN Regulation No. 149 covers road-illumination devices in markets applying that framework. Always check the rules and inspection practice where the vehicle is registered; one marking is not a universal road-use pass.
5. Plan professional aiming after installation
Even a well-designed lamp can perform badly when it is aimed too high, too low or unevenly. Ride-height changes, accident repair, bumper removal, different tire diameter and vehicle load can all alter where the beam lands. Lowered performance cars and lifted trucks therefore need special attention.
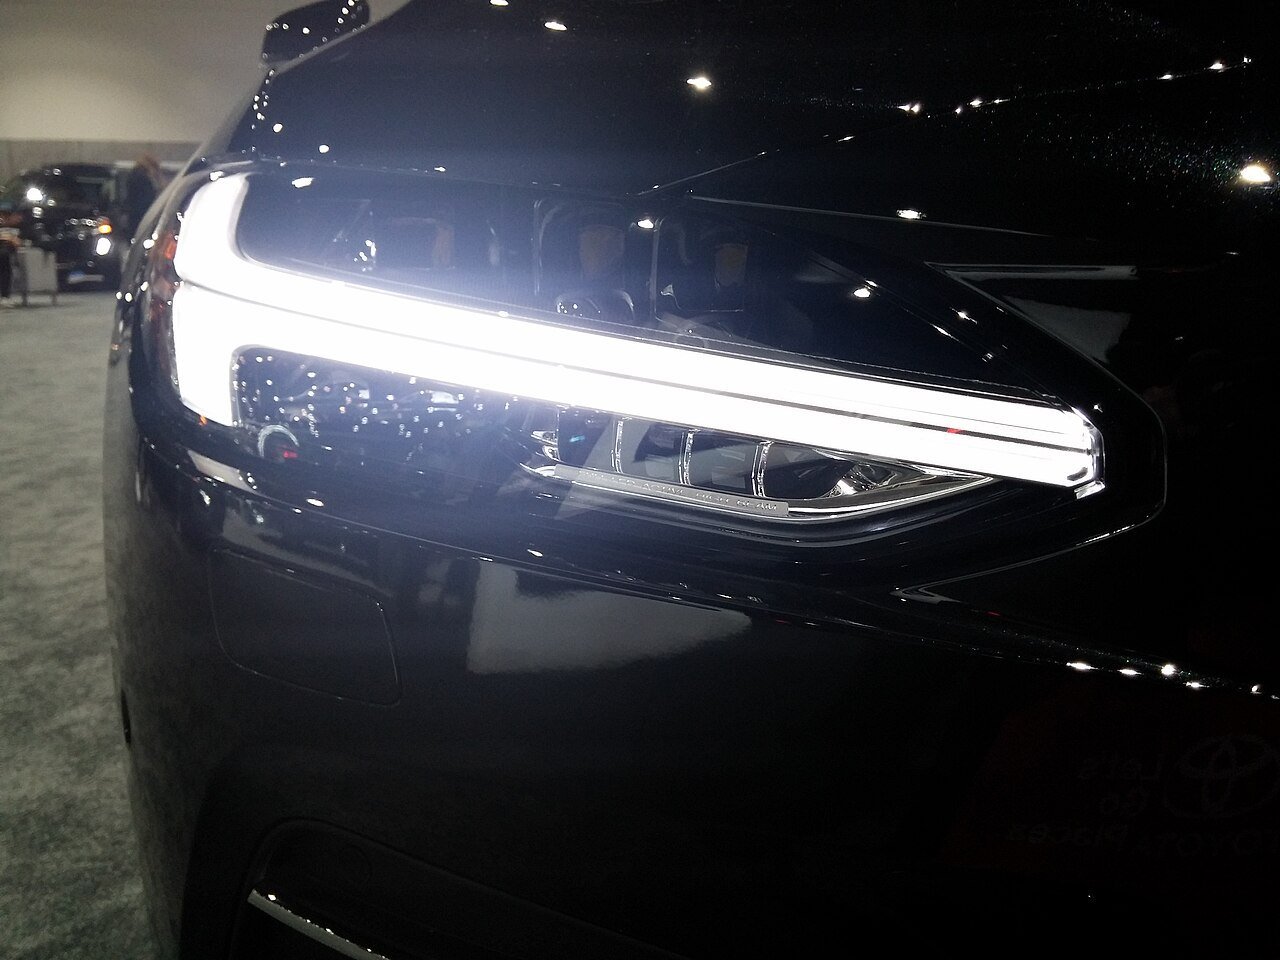
Confirm that the vertical and horizontal adjusters are accessible after installation and whether the original auto-leveling system remains active. For adaptive lamps, ask whether a diagnostic calibration is required. Use the manufacturer’s procedure and local specification. A garage-wall check can reveal an obvious error, but it is not a substitute for the prescribed aiming process.
6. Map every electrical and software requirement
Modern lighting can communicate with a body control module and depend on bulb-out monitoring, CAN communication, ride-height sensors, steering input and stored coding. A lamp can illuminate while still losing adaptive functions or generating faults. “Plug and play” should mean more than matching connectors.
Ask the seller to list tested model years, factory lamp options, included drivers, required harnesses and any coding or calibration. Do not add resistors simply to hide a warning without understanding heat, current and diagnostic consequences. A complete conversion such as the BMW G8X laser-style headlight set should be checked against the precise original package and market version.
7. Inspect sealing, vents and condensation behavior
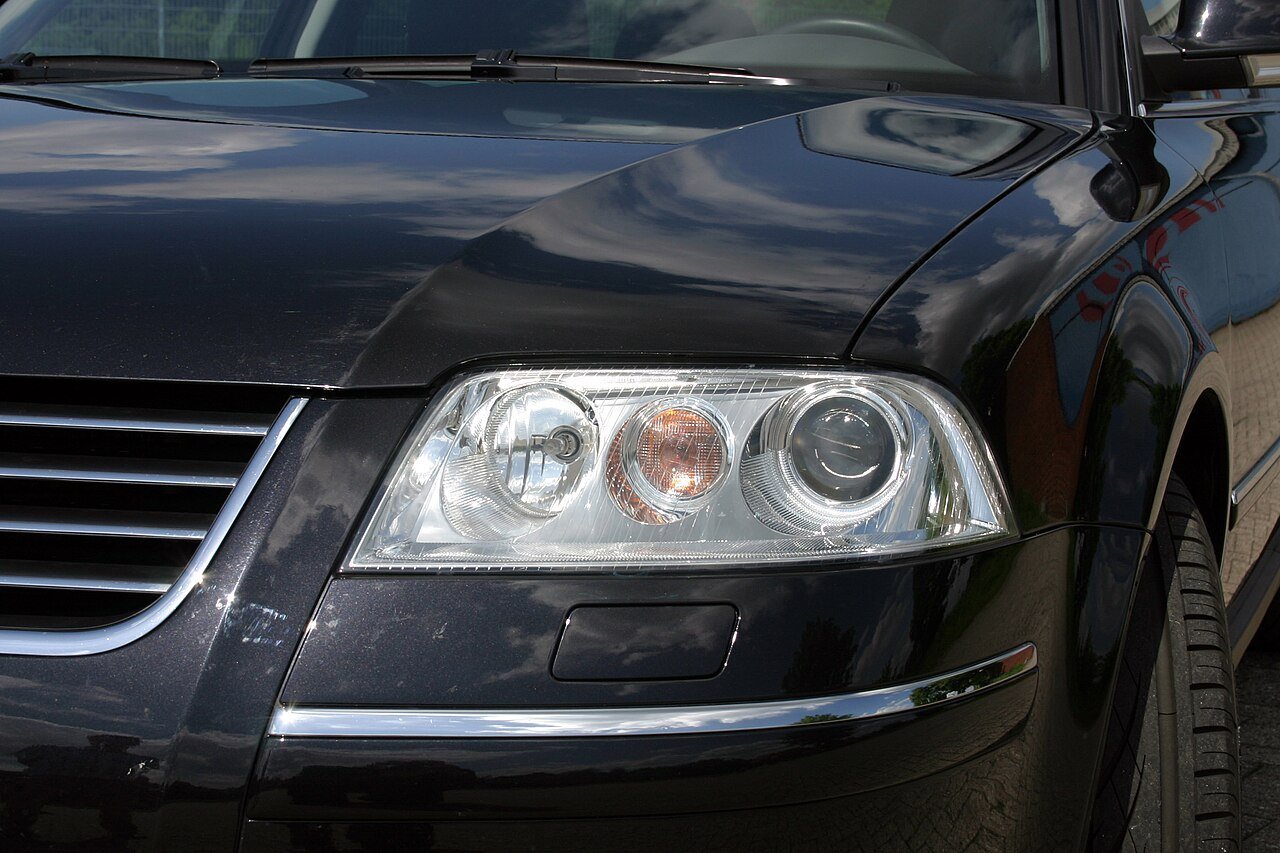
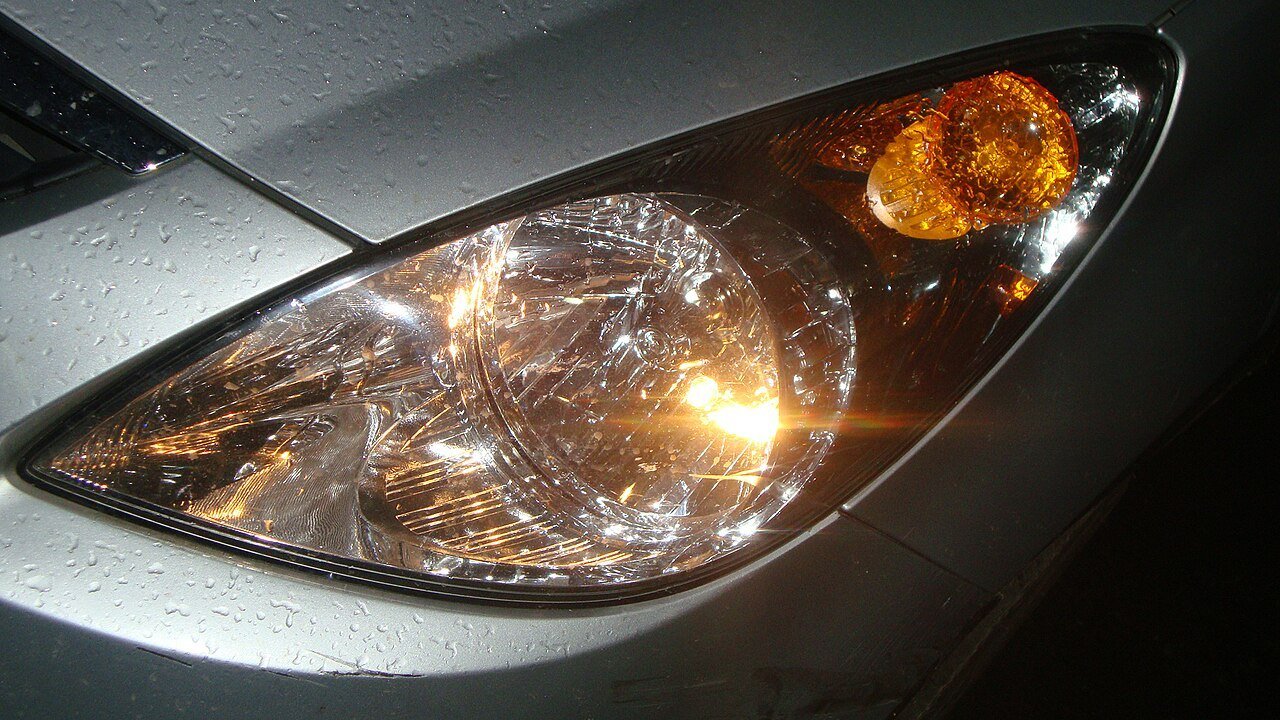
Lamp housings breathe through designed vents as temperature and pressure change, so a light temporary haze is not automatically a leak. Repeated droplets, pooling water or long-lasting streaks deserve investigation. Before fitting, inspect the lens bond, rear caps, vents, harness grommets, mounting tabs and shipping carton.
Never seal every vent in an attempt to stop fogging; doing so can trap moisture or pressure. Follow the assembly maker’s guidance. After installation, document the first wash and wet-weather use. Clear photos, dates and weather conditions make a warranty discussion far more useful than a general complaint that the lamp “gets wet.”
8. Protect warranty and return options
Read both the lamp seller’s warranty and the vehicle warranty before work begins. In the U.S., the Federal Trade Commission’s auto-warranty guidance says use of an aftermarket part does not by itself cancel a warranty, but damage caused by a defective part or incorrect installation can be excluded. Rules elsewhere differ.
Keep the original housings, packaging, invoice, listing and written fitment confirmation. Photograph the new assemblies before installation and do not cut factory wiring until the return conditions are understood. For an international order, calculate who pays return freight, duties and labor if a tab is broken or a module is wrong.
9. Compare the complete installed cost
The checkout price is only one line. Add insured freight, duties and taxes, workshop labor, bumper removal, adapters, transferred or new modules, coding, calibration, aiming and possible vehicle downtime. Also price the risk of a second installation if the first set must be exchanged.
For a model-specific option, such as the 2014–17 Mercedes S-Class OEM-style LED upgrade or the Porsche 991 matrix-style xenon conversion, request a written bill-of-materials and installation scope. The better quote is the one that defines what is included, not necessarily the one with the lowest part price.
9-point aftermarket headlights checklist
- Record VIN, build date, trim, body style and original lighting option.
- Match original part numbers, rear connectors, modules and mounting tabs.
- Confirm the beam version for left- or right-hand traffic.
- Request the compliance basis for the exact application and market.
- Check low beam, high beam, DRL, turn signal and adaptive functions.
- Plan coding, calibration and professional aiming before installation.
- Inspect seals, vents, caps, tabs and transit packaging on arrival.
- Read warranty, return-freight and wiring-modification terms.
- Total the landed and installed cost, including downtime and rework risk.
Frequently asked questions
Are aftermarket headlights legal?
Some are legal for specific vehicles and markets; others are intended for off-road or show use. Verify the exact assembly, light source, vehicle configuration, markings and local inspection rules. A generic DOT or E-mark claim is not enough.
Does a DOT mark mean NHTSA approved the headlight?
No. NHTSA explains that the DOT symbol is the manufacturer’s certification that the equipment complies with applicable requirements; it is not a pre-sale DOT approval.
Can I replace halogen headlights with complete LED assemblies?
Possibly, but only when the assembly is designed for that vehicle configuration and all optical, electrical, aiming and road-use requirements are met. Check harnesses, diagnostics, leveling and required modules before ordering.
Why do new headlights show condensation?
A brief haze can result from normal pressure and humidity changes in a vented housing. Persistent droplets, pooling or repeated heavy fogging can point to a cap, vent, seal or installation problem and should be documented promptly.
Do aftermarket headlights need aiming?
Yes. Installation, ride height and manufacturing tolerances can change beam position. Aim the lamps using the applicable manufacturer and local procedure, then calibrate any adaptive or auto-leveling system if required.
Choose evidence before appearance
The right aftermarket headlights are compatible optics, electronics and hardware—not just housings that resemble the car in a listing. Collect vehicle data, ask precise questions and resolve road-use, aiming and coding requirements before the parts travel. For a fitment review, send RevexaAuto your VIN, original lamp photos, destination country and target design. RevexaAuto’s editorial and product-information standards explain how fitment and evidence are handled.
Sources and further reading
- IIHS: Headlights research overview
- IIHS: About headlight evaluations
- Brumbelow (2022): Headlight ratings and nighttime crash rates
- NHTSA: Adaptive driving beam final rule announcement
- 49 CFR 571.108: Lamps and associated equipment
- NHTSA interpretation: DOT mark and replacement lighting
- UNECE: UN Regulation No. 149
- FTC: Auto warranties and aftermarket parts