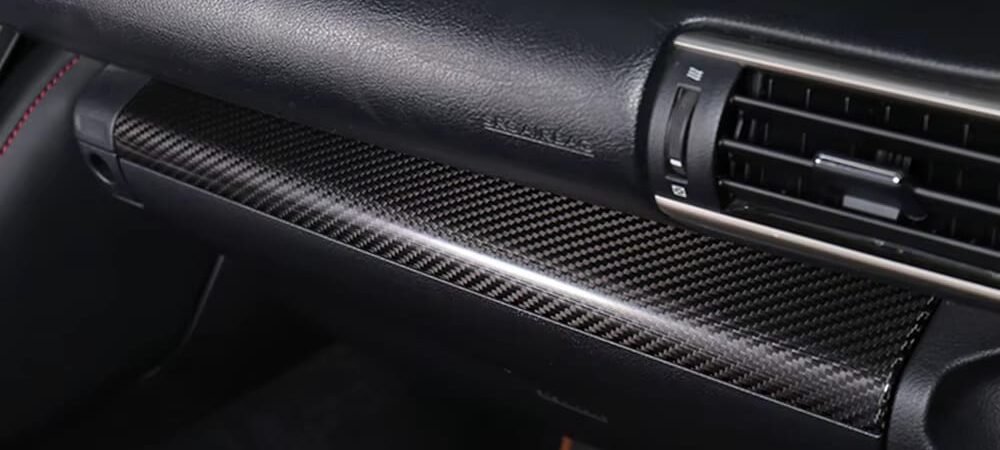
Carbon fiber interior trim can sharpen a cabin, but the wrong kit can leave raised edges, mismatched weave, blocked controls or a glossy part that never looks at home beside the factory materials. The expensive mistake is buying from one close-up photograph without confirming the exact dashboard, console, door-panel and switch layout.
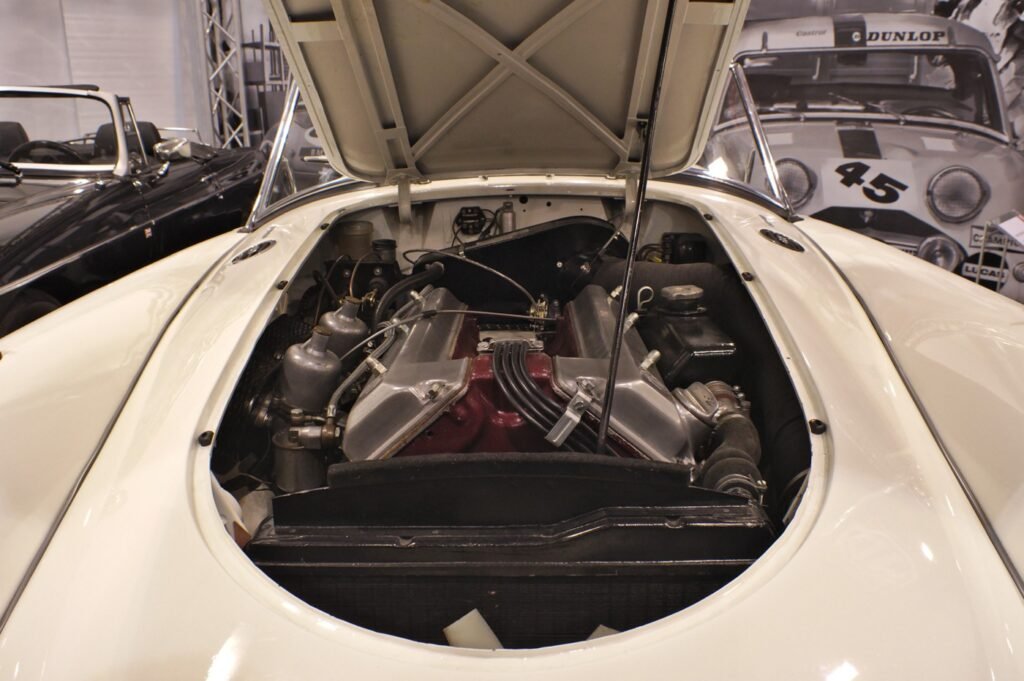
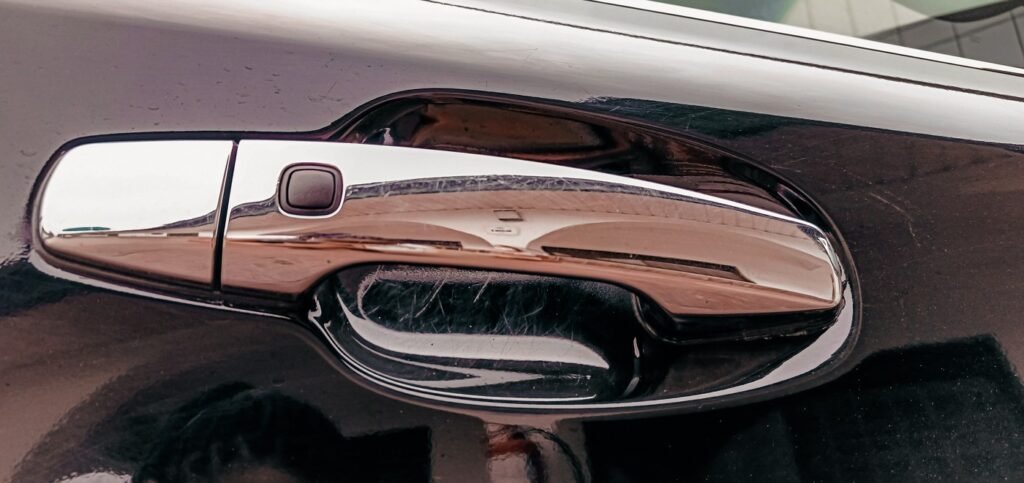
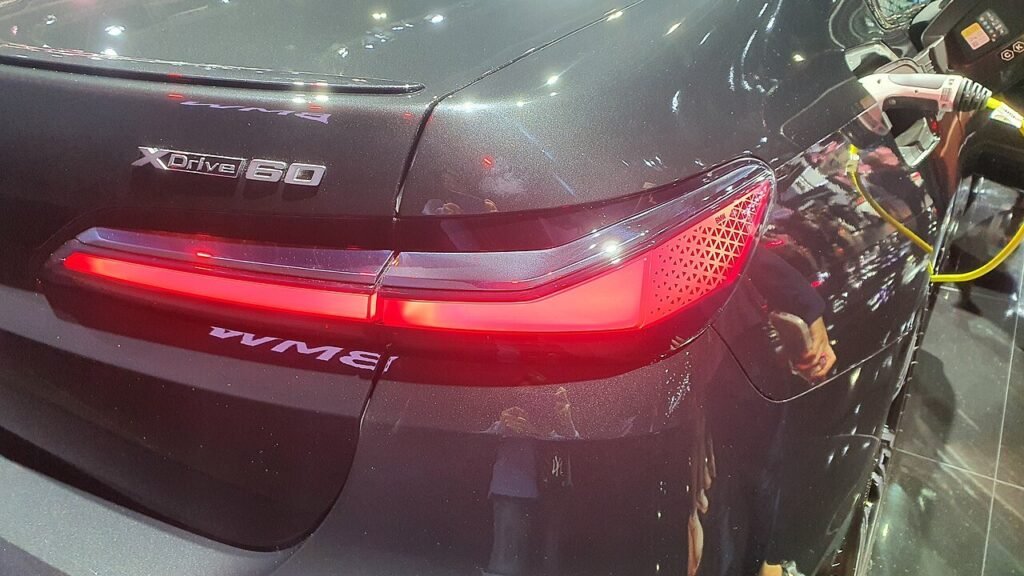
This guide gives you nine checks to make before ordering. The six images are real RevexaAuto catalog photographs of installed or test-fitted parts. Each caption links to its product application; the photos show how a part looks on that vehicle, not a promise that it fits a different year or trim.
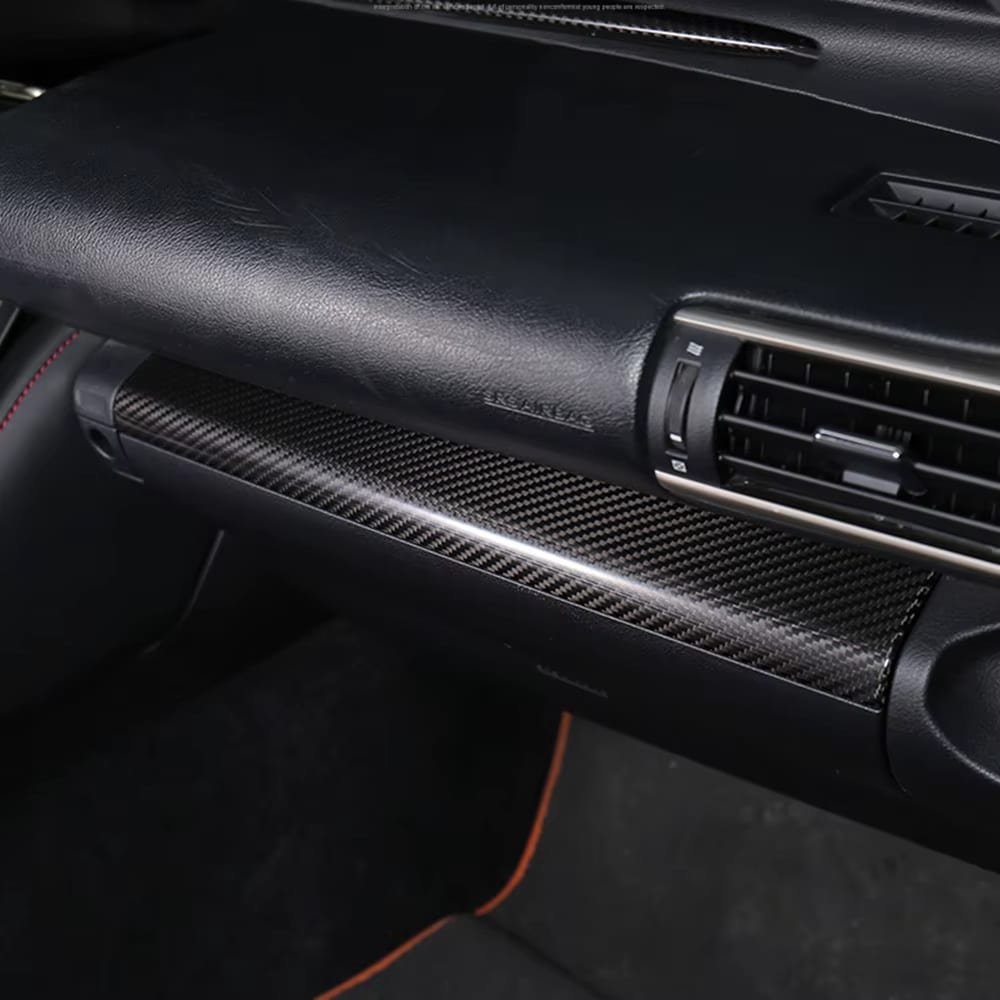
The 60-second answer
Match the exact year, model, trim, market, drive side, screen, vents, switches and factory finish before choosing a kit. Confirm whether each piece is a stick-on overlay, a replacement shell or an OEM part re-skinned with carbon. Approve the weave direction and gloss level across the whole cabin, not one piece at a time. Keep decorative trim clear of airbag seams, sensors, vents and moving controls. Dry-fit every part before removing adhesive liners or changing factory panels.
Overlay vs replacement trim: what are you buying?
An overlay bonds onto the original trim. It is usually easier to install and remove, but it adds thickness around buttons, cupholders and panel seams. A replacement part substitutes the original panel and can look more integrated, yet it depends on accurate clips, tabs, holes and mounting bosses. An OEM-core re-skin starts with a factory part and adds a carbon surface; it may preserve factory geometry but can require a core exchange.
| Type | Why buyers choose it | Main risk to check |
|---|---|---|
| Stick-on overlay | Less disassembly; lower commitment | Raised edges, insufficient tape land, tight switch clearances |
| Replacement trim | Cleaner, more factory-like transition | Broken clips, inaccurate tabs, squeaks and gaps |
| OEM-core re-skin | Factory geometry with a real carbon surface | Core condition, added thickness and exchange terms |
9 carbon fiber interior trim mistakes to avoid
1. Matching the model but not the cabin configuration
“Fits Lexus IS” or “fits BMW 3 Series” is not enough. Screens, vents, drive side, shifters, trim packages and switch arrays can change during a generation. A console overlay may appear correct in a listing while leaving a narrow gap around a later cupholder or covering part of a different switch bezel.
Send straight-on and angled photos of every factory panel you want to replace. Include the year, chassis, trim, left- or right-hand drive, infotainment size and any optional controls. Ask the seller to confirm the visible details in your photos instead of replying only with a model range.
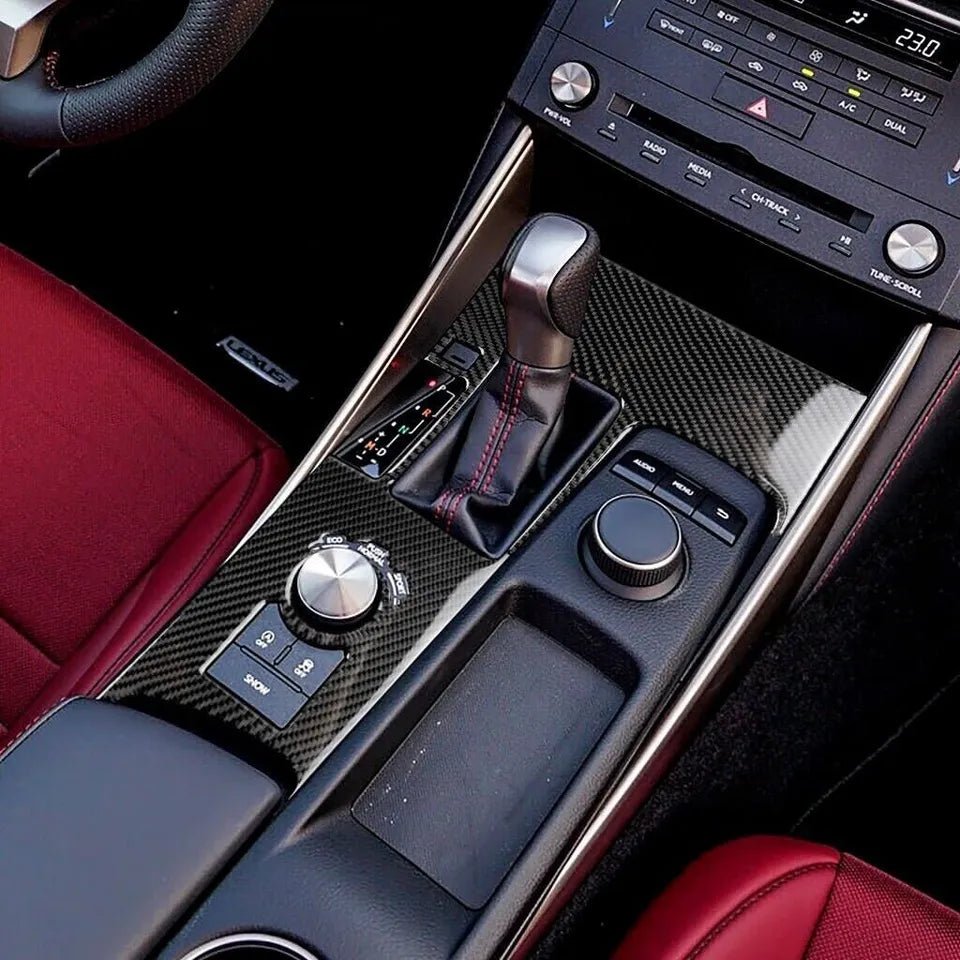
2. Treating overlays and replacement parts as interchangeable
A buyer expecting a replacement can be disappointed by a thin overlay with pre-applied tape. The reverse is also true: a replacement panel may require more disassembly than the owner or installer planned. Confirm the construction, the original part that remains underneath, the included clips or tape and whether the kit changes panel height at adjacent seams.
For wholesale orders, put the product type in the purchase specification. “Real carbon overlay for the factory center-console panel” is clearer than “carbon console trim.” Photograph the backside and packaging during sample approval so a later reorder cannot quietly change from replacement to overlay.
3. Confusing wet carbon, prepreg and carbon-look trim
A visible weave does not describe the full part. Wet-laid carbon, prepreg carbon, carbon laminated over a substrate, carbon-skinned OEM pieces and printed carbon-look plastic are different products. Ask what the visible layer is, what supports it, how the part is cured and whether the quoted price is for a complete panel or a cosmetic skin.
Do not turn manufacturing labels into unsupported promises. Prepreg can allow a controlled resin system, while a well-made wet-carbon cosmetic part can still suit an interior application. Judge the finished part: fit, edge quality, coating, backside, clips and repeatability matter more than one marketing word.
4. Approving one piece without mapping weave direction
Weave direction is easy to miss in a product close-up and obvious once several pieces share a cabin. A console running forward-right, a dash panel running forward-left and door pieces at a third angle can make an expensive kit feel accidental.
Approve a simple cabin map showing the intended direction on the driver dash, passenger dash, console, door inserts and steering trim. ASTM’s fiber-reinforcement orientation coding standard is technical context for describing orientation; your supplier still needs a visual reference that both teams can follow.
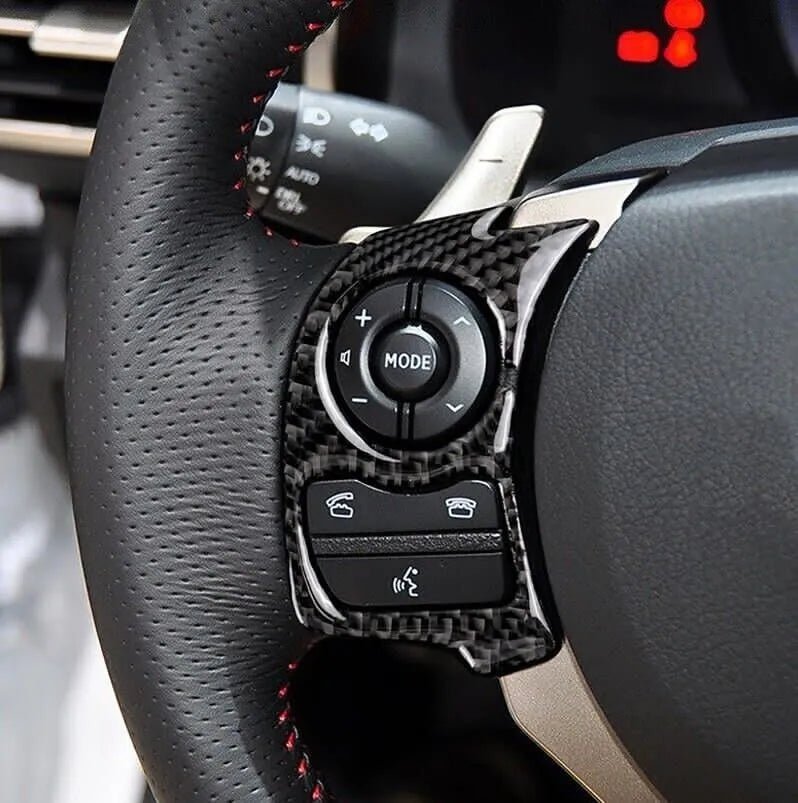
5. Choosing gloss or matte from studio photos alone
High gloss makes the weave look deep, but it can show fingerprints, dust, light scratches and windshield reflections. Matte or satin looks quieter and may blend better with modern factory cabins, although polishing the wrong way can create uneven shiny areas.
Request daylight, night and angled photographs beside the car’s real materials: piano black, leather, textured plastic, metal or fabric. Ask for a care sheet before deciding. The finish should work during daily driving, not only under soft product lighting.
6. Ignoring UV exposure and coating durability
Dashboard and door-top pieces sit behind glass and can receive sustained heat and light. Ask what clear finish is used and how the supplier evaluates color, haze and gloss retention. SAE’s J2412 interior-trim exposure method shows the type of controlled testing used in automotive material programs; it does not prove a seller’s part has passed unless the seller provides matching evidence.
If a shop refinishes a part, coating choice and application also matter. The U.S. EPA’s automobile refinish coating rule summary is useful context for U.S. businesses handling refinish materials. Do not assume a cosmetic clear-coat claim equals a documented durability test.

7. Using the wrong adhesive or forcing inaccurate clips
Overlay adhesion depends on a clean, compatible and sufficiently flat surface. Silicone dressings, wax, dust, ceramic coatings and skin oils can reduce bond quality. 3M’s automotive attachment-tape guidance explains why tape selection, tape land, preparation and pressure are part of the design—not an afterthought.
Replacement parts bring a different risk. If clips do not align, do not pull the panel into position with force. Check mounting bosses, tab thickness and neighboring gaps. A panel that sits under stress can squeak, lift or crack. Dry-fit first, operate every switch and confirm service access before final assembly.
8. Covering airbag seams, sensors, vents or controls
Decorative trim must not interfere with an airbag deployment path, warning lamp, switch, latch, sensor, speaker, camera, vent or moving control. NHTSA explains the role of vehicle air bags, and its airbag-equipped vehicle service guidance warns that changing parts around the steering wheel, instrument panel, pillars, seats, sensors and wiring can affect the system.
Do not use a trim kit to hide crash damage or a deployed-airbag repair. I-CAR’s instrument-panel repair guidance is a useful reminder that SRS-related decisions belong with OEM repair information and qualified technicians.

9. Forgetting edges, squeaks and daily cleaning
Interior parts are touched and seen at close range. Run a microfiber cloth around the sample edges and openings. It should not catch on exposed fibers, sharp clear-coat ridges or unfinished cutouts. Press lightly around the panel after dry fitment; rocking, clicking or hard contact with an adjacent panel can become an everyday rattle.
Clean coated carbon with a soft towel and a mild product compatible with the finish. Spray the towel rather than soaking a panel near switches and adhesive edges. Avoid abrasive pads and strong solvents. For matte finishes, do not apply gloss enhancers unless the supplier approves them.

Which carbon interior option fits your goal?
| Your priority | Best question to ask |
|---|---|
| Easy visual upgrade | Is there a vehicle-specific overlay with full tape contact and clean switch clearance? |
| Factory-like panel transitions | Does the replacement reuse factory-style clips and match adjacent gaps? |
| Consistent multi-piece kit | Can the supplier approve weave direction and gloss across one complete sample set? |
| Wholesale repeatability | What inspection standard controls tabs, finish, weave and packaging between batches? |
| Safety-sensitive area | Does the part stay completely clear of SRS components, vents, sensors and controls? |
How to inspect a sample kit before a production order
Photograph the sealed carton before opening it, then lay every piece out in the same cabin orientation. This makes missing parts, left-right mistakes and weave changes easier to spot. Check the visible face under diffuse daylight and a point light: one reveals color and orientation, while the other reveals pinholes, haze, sanding marks and uneven clear coat.
Inspect the backside as carefully as the front. Look for clean cutouts, finished edges, complete tape coverage, secure mounting points and enough clearance around clips. Compare the sample with the actual factory panel before judging it on a table. A part can look symmetrical by itself and still crowd one button or sit high beside an adjacent trim piece.
- Record the finished appearance of every approved part from the same angles.
- Measure critical openings for screens, vents, switches and cupholders.
- Check that controls move freely and panel gaps remain even after dry fitment.
- Test packaging by confirming that clips and sharp corners cannot touch neighboring parts.
- Keep the approved sample or a signed photo standard for repeat orders.
What does the complete installed cost include?
Compare the part price only after you add freight, protective packaging, applicable import charges, removal of factory panels, dry fitting, surface preparation, tape or replacement clips, installation labor and any calibration or OEM procedure required near electronics or safety systems. A low-priced kit can become expensive when an installer must reshape openings, replace broken tabs or refinish a cloudy surface.
Ask the installer to review the exact product and your cabin photographs before you buy. The most useful quote separates the product, shipping, hardware, preparation and labor so you know which costs could change after inspection.
Frequently asked questions
Is real carbon fiber interior trim always better than ABS or hydro-dipped trim?
No. Real carbon provides a genuine woven surface, but accurate fit, edge finish and coating quality still decide whether the part looks good. ABS or hydro-dipped trim can be a sensible lower-cost choice when the buyer values fit and easy replacement over real fiber construction.
Is an overlay easier to install than replacement trim?
Usually, but only when the overlay matches the exact panel and has adequate tape contact. A poor overlay can lift or crowd controls; a well-made replacement can look cleaner but requires more disassembly.
Can trim be installed over an airbag cover?
Do not cover an airbag seam or SRS-related component based on a generic fitment claim. Check OEM repair information and use a qualified technician whenever a part is near a safety system.
Which finish is easiest to maintain?
Satin often hides fingerprints better than high gloss, while gloss shows the weave more dramatically. Matte and satin surfaces need products that will not polish them unevenly.
Send this before requesting a quote
- Year, make, model, chassis and trim
- Left- or right-hand drive and destination market
- Clear photos of every factory panel, screen, vent and switch opening
- Overlay, replacement or OEM-core preference
- Wet carbon, prepreg or other construction requested
- Weave style and approved direction for each piece
- Gloss, satin or matte finish
- Quantity, private-label needs and packaging requirements
- Any nearby airbag, sensor, vent or moving-control concern
Request a carbon interior fitment review with those details. If you are still comparing materials, read our real carbon fiber buying checks before choosing a kit. A useful quote should confirm the exact vehicle configuration, construction, finish, mounting method and parts included—not just repeat the product title.